Over the past few months you have been catching a glimpse of my personal home, the Edgewood Series. I have truly enjoyed working on this house for almost a year and have been more than excited to share this with you, the readers. Today I’ll be featuring the kitchen in a before and after (facelift how-to). Technically, there was nothing wrong with the existing kitchen in our new home, except for the fact that it didn’t have our personal touch. I knew that to wipe the slate clean and do an entire kitchen remodel would not only be $60,000 or over, but it would be a very spoiled and wasteful thing to do. Just because the kitchen seemed dark and uber traditional to me, didn’t mean that it wasn’t usable and fixable. So, I began my design plan to transform the kitchen for a more reasonable budget of 5,000-7,000 that would and make it more us.
To begin, the walls were a goldy/green that I wasn’t fond of. Easily changeable! Paint is sometimes a quick cure all that can aid in a transformation. As I mentioned in previous Edgewood articles, I decided to paint the whole house in my signature color “Yeager Grey”. The light toned true grey did help brighten up the large kitchen, but it didn’t go as far as I had hoped. I then sat down and made a list of the hard finishes in the room and after compiling that, I made a list of what I could afford to change.
To make our reno money stretch as far as possible we addressed the paint, countertops and lighting to make the biggest difference. Our goal was not only to personalize, but to brighten up the space.
Hard Finishes
- Dark cherry cabinetry
- Dark cherry wood flooring
- Dark brown speckled quartz countertops
- Drywall with no backsplash between base and wall cabinets
- Builder grade light fixtures
- Paper accordion blinds
Things I could afford to change
- Not the cabinets
- Most definitely NOT the flooring
- Countertops- doable and would be the easiest and most dramatic of the things on my list I could alter.
- Adding a light toned backsplash
- Brighter and more personal light fixtures
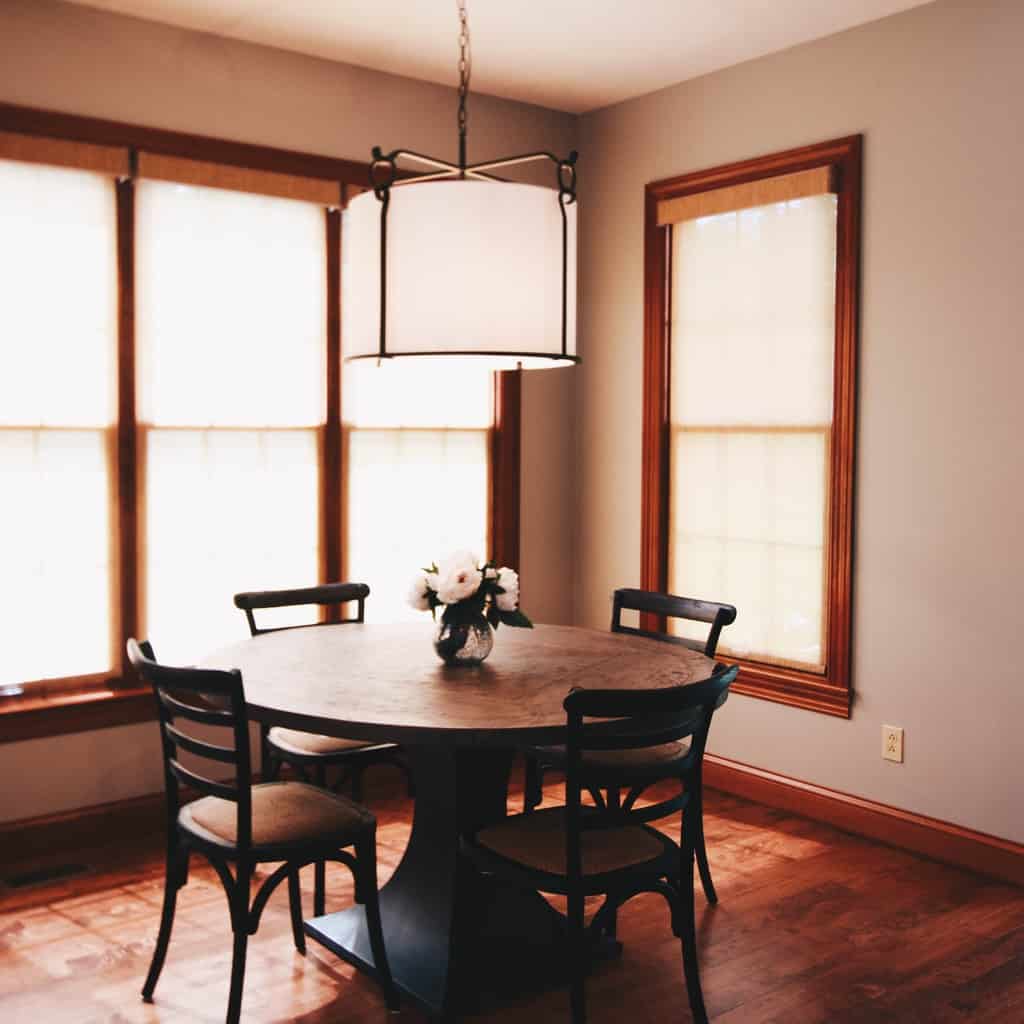
- Custom shades for the bay window area
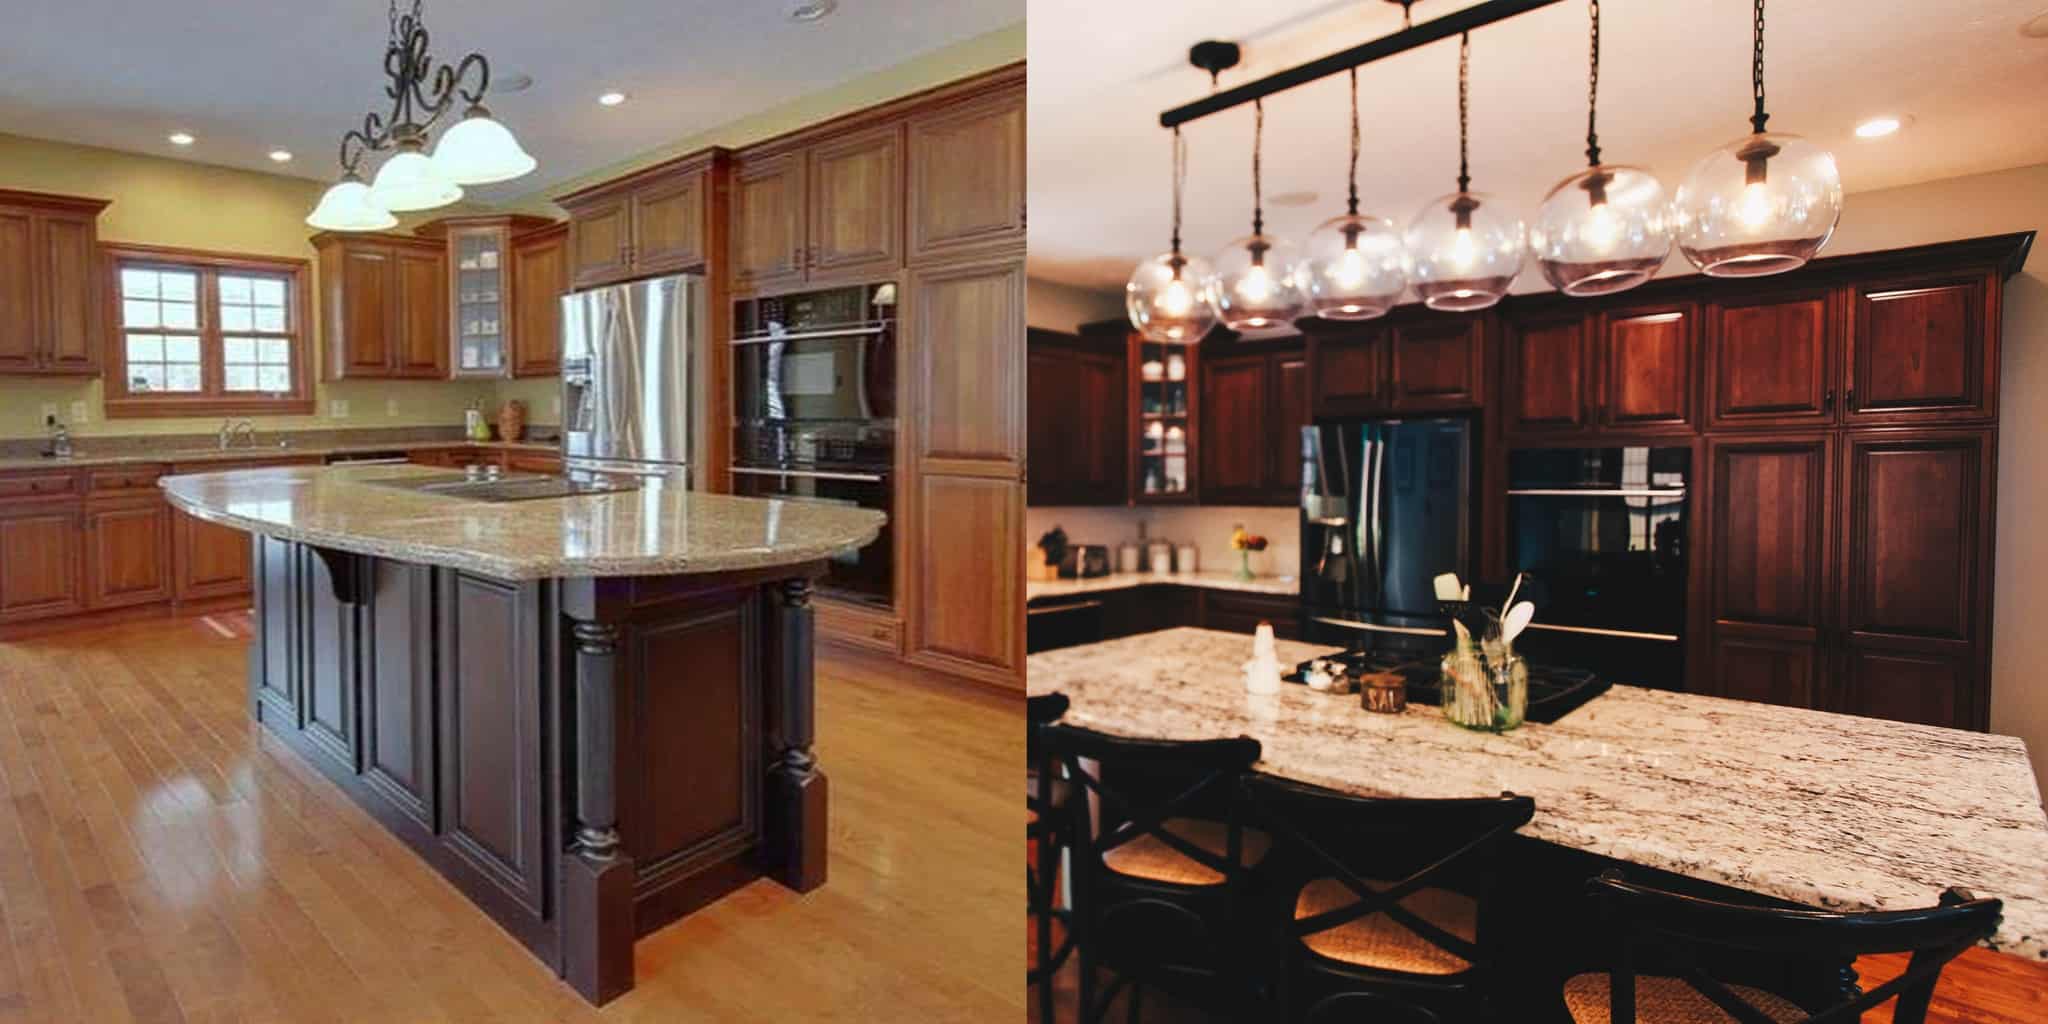
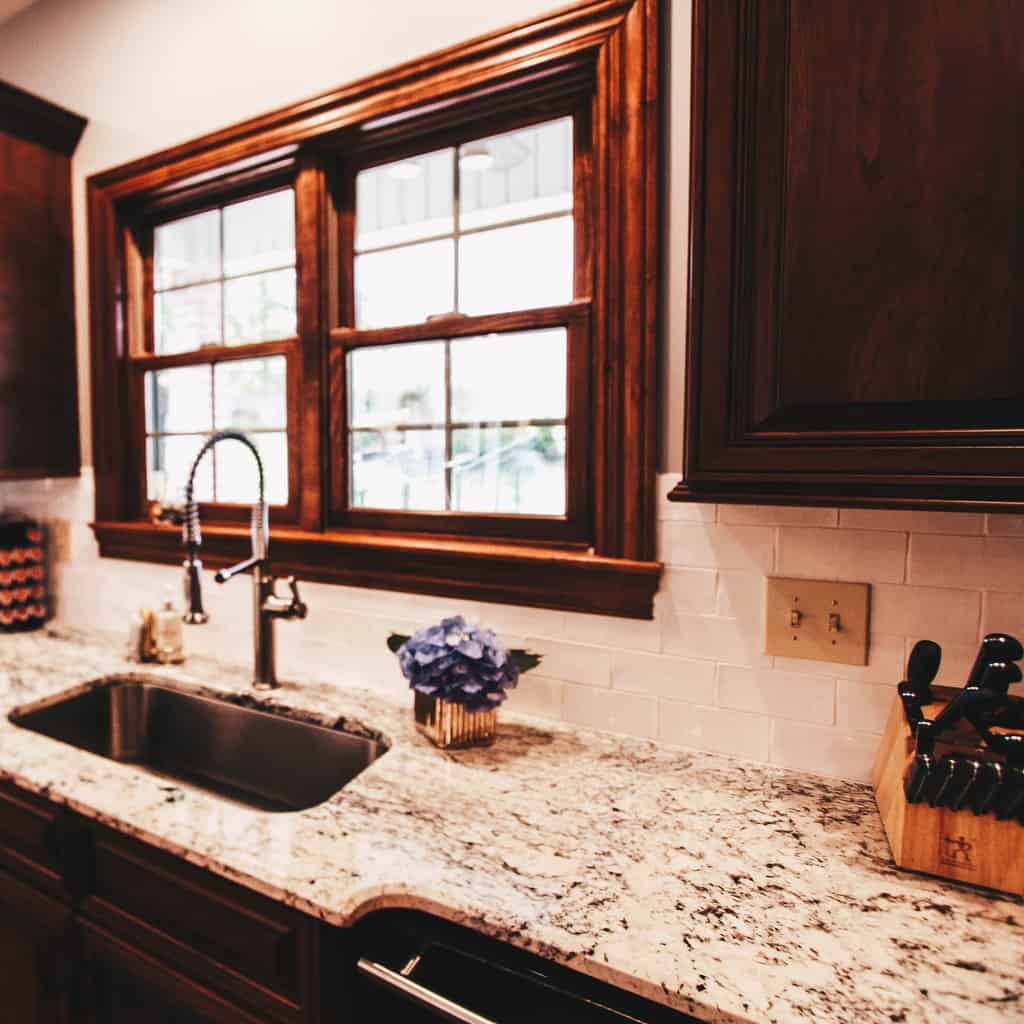
As previously mentioned, the cabinets would have been a waste to get rid of. On their own, the cabinets were beautiful but when paired with the same colored flooring, it was a tad overwhelming for us. I knew by removing the dark countertops and replacing them with a lighter background colored stone would at least be a horizontal break between all the dark wood. I had no idea how much it would transform our kitchen though! I chose Ice White granite from Bailes Granite and Marble in Charleston, West Virginia. Because I was getting new countertops, this was the optimal time to change the sink, faucet, and cooktop to my own personal preferences. I chose a huge one bowl, stainless steel under mount sink that was very contemporary and had clean lines. I also chose a Kohler stainless commercial type faucet that had a powerful sprayer and a tall neck that would make my dishwashing woes fade away…almost, except that I still had to wash those dishes! I went ahead and replaced the drop-in cooktop in the island while I was at it. The house already had gas running to it for the fireplace so, it would be an easy task to switch the electric existing appliance to a like sized 30” gas one. I then addressed the backsplash area and chose a beautiful off white subway tile from the Café series from Walker Zanger. This created a bright backdrop that served as a clean line break between wall and base cabinetry.
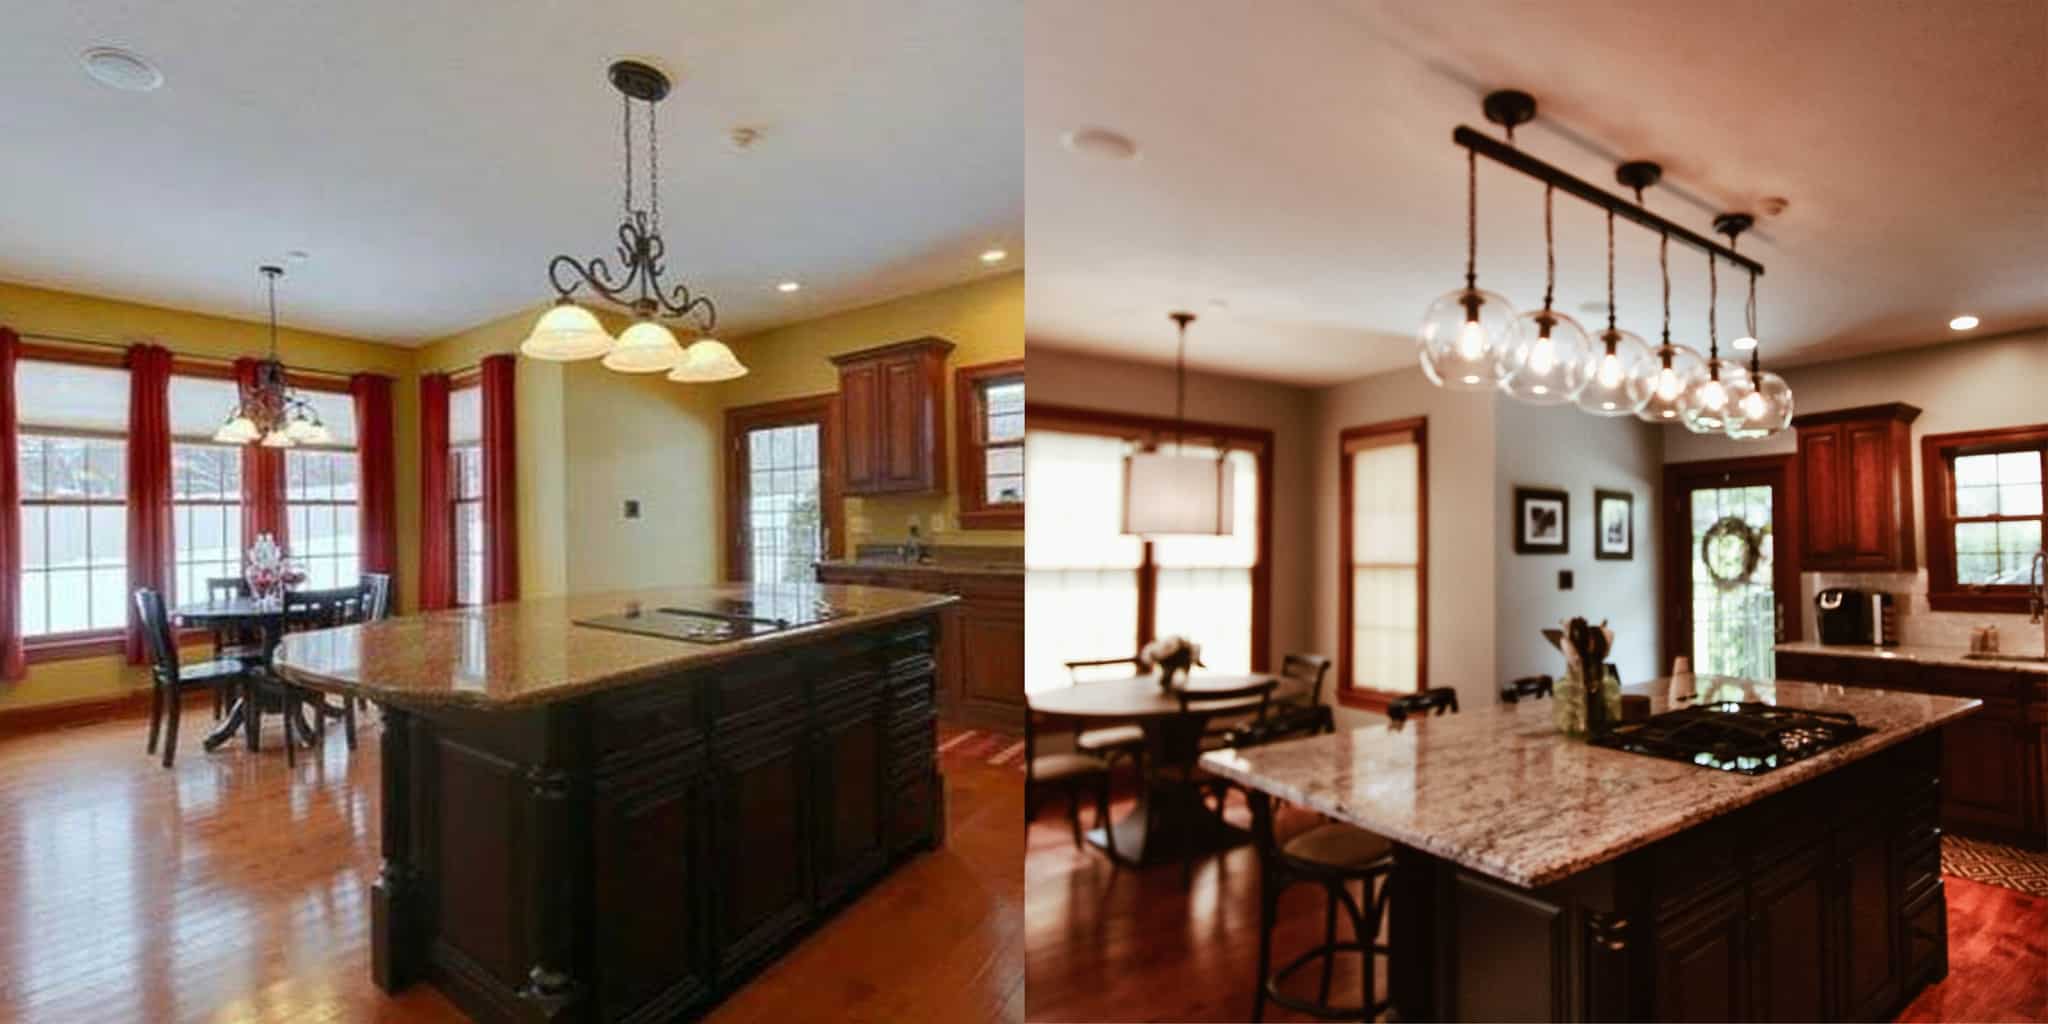
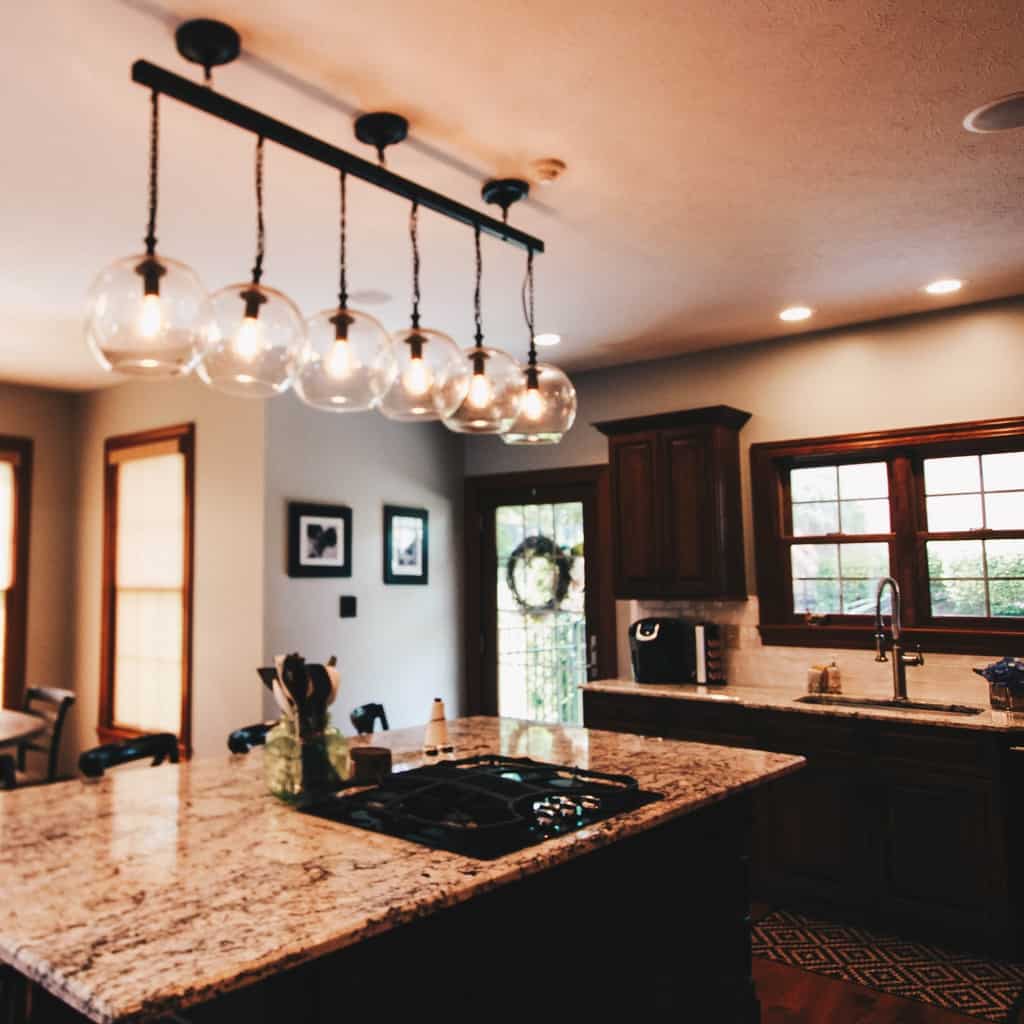
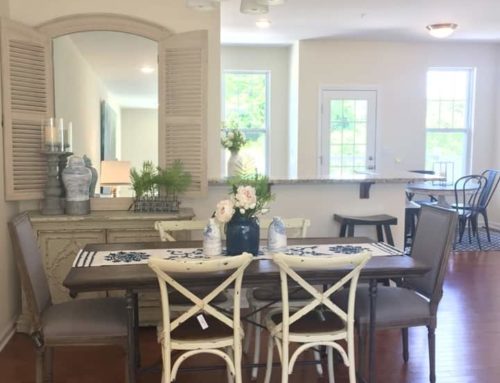
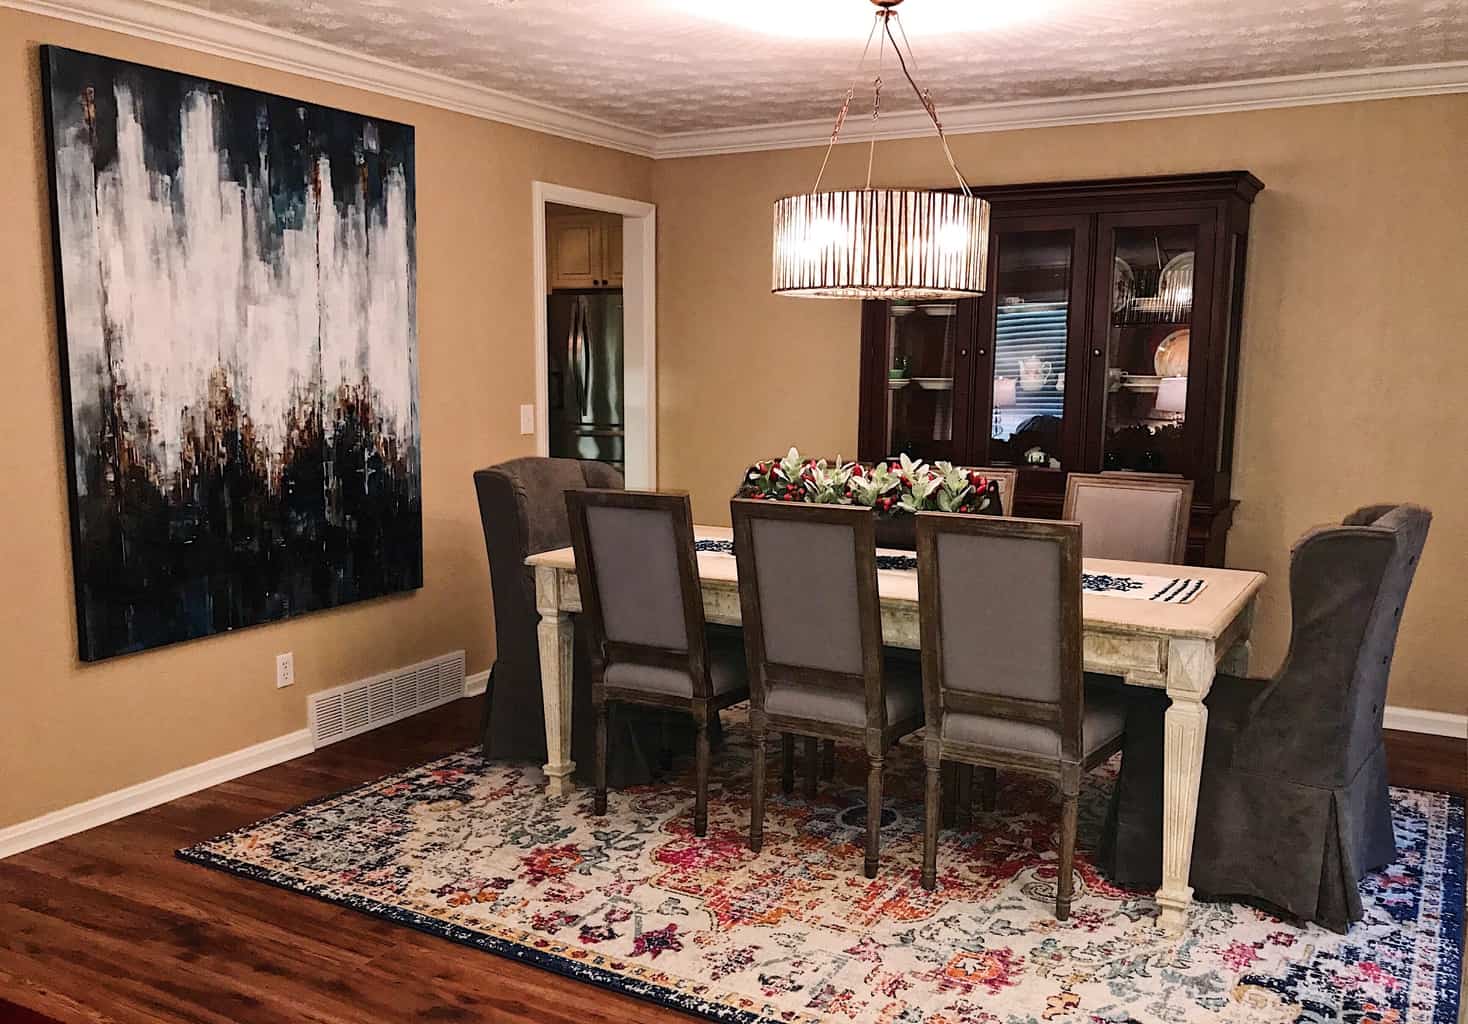
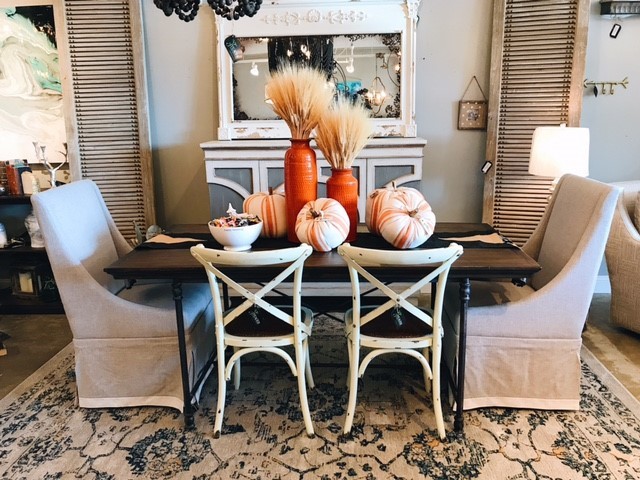
To address the lighting in the room. I chose to replace the traditional wrought iron fixture over the island with a more urban chic six pendant light. With its glass globes and Edison bulbs it creates a warm glow and serves as a conversation piece with our guests while entertaining. When we redesigned out countertops, we made the granite a little larger on each side of the island, which allowed for more seating. On an everyday basis, we have room for five barstools across the long side, but we also allowed for up to four more seats on the short ends when necessary. To compliment the black light fixture and island color, I chose black, worn X-back counter stools with a rattan seat. In the bay window area, I chose a linen drum shade with black metal accents to hang over our new table and chairs. The warn wood toped table with black iron base was perfectly complemented by transitional ladder back black chairs. To replace the paper accordion shades in the bay windows, we selected a sun resistant roller shade in a gold woven material that was a perfect match to some of the other existing family room window treatments. These were prefect for allowing privacy when needed and full access views to our backyard as well.

Our finished product in the kitchen is one that we are very proud of. We have found ourselves entertaining so much more than we use to in our previous home. The personal touches throughout the space look and feel like home to us and were doable within our smaller budget. Sometimes, a facelift for a kitchen can make all the difference when you don’t have a full remodel budget. As always if you find yourself in need of design help, reach out to your local interior designer for help in completing a project.
– To read the full article: http://www.wvgazettemail.com/life-home/20170712/wv-design-team-kitchen-face-lift-on-a-budget